
How to Apply Vinyl Window Decals Without Air Bubbles in San Jose
Use the same surface prep, wet application, and squeegee habits that sign installers rely on for clean vinyl window graphics on storefront glass, office doors, and interior partitions.
Key takeaways
- Clean glass with isopropyl alcohol and a lint-free cloth before applying vinyl window decals.
- Use a light wet application solution for larger storefront graphics so you can reposition the vinyl before it grabs.
- Squeegee from the center outward with overlapping strokes to move air and moisture toward the edges.
- Account for San Jose sun exposure, dust, and glass temperature before starting the installation.
- Wait until the decal is fully dry before removing transfer tape, especially on large lettering or detailed graphics.
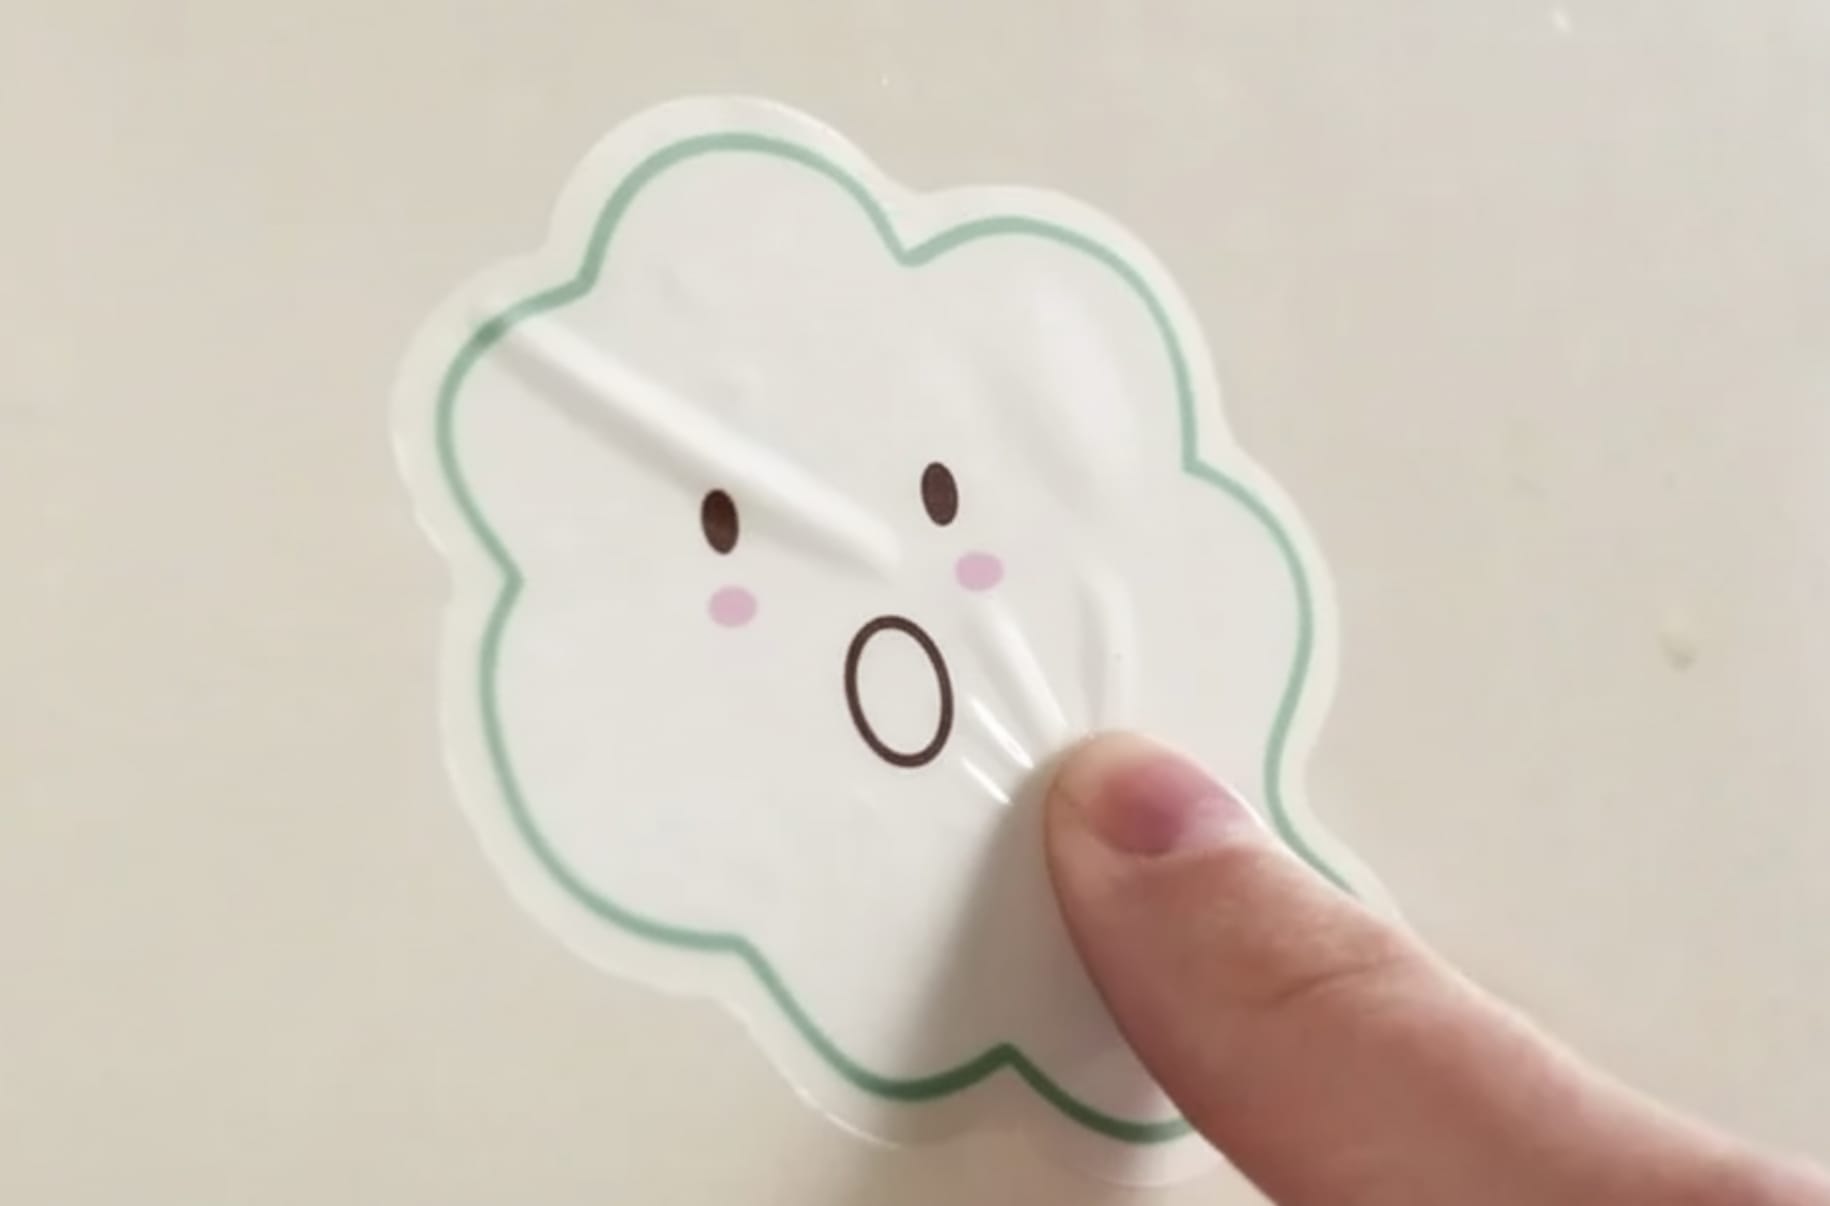
Applying vinyl decals to glass without trapping air bubbles looks simple until the graphic starts to grab too soon, stretch out of alignment, or collect dust at the edge. For San Jose storefronts, office doors, salon windows, restaurant glass, and service counters, a clean installation matters because window graphics are often the first sign customers read up close.
Whether you are installing custom window decals on a retail entrance in San Jose, adding privacy film to a Palo Alto office, or putting hours and branding on glass in Santa Clara or Sunnyvale, the basics are the same: prepare the surface, control the adhesive, and move air out before it gets trapped.
Why is surface preparation the biggest factor?
Surface preparation is where most decal problems are either prevented or created. Glass can look clean while still carrying fingerprints, cleaner residue, construction dust, pollen, cooking film, or silicone overspray from earlier work. Those small contaminants keep adhesive from bonding evenly and can create tiny raised dots that look like bubbles.
Start by cleaning the glass with isopropyl alcohol and a lint-free cloth. Industry best practices recommend avoiding ammonia-based window cleaners because they can leave residue that interferes with adhesive bonding. Wipe in overlapping passes, and pay close attention to corners, door edges, and the lower section of storefront glass where grime tends to collect.
For glass near restaurants, auto shops, gyms, or busy commercial corridors, wash first with mild dish soap and warm water, rinse thoroughly, then finish with isopropyl alcohol. The surface should be dry, smooth, and dust-free before any vinyl touches it.
What is the wet application method?
The wet application method uses a very light soap-and-water solution to slow down the adhesive grab. Instead of the vinyl sticking instantly, the solution gives you a short working window to slide the decal into position and squeegee out trapped air and moisture.
Mix one drop of dish soap per 16 ounces of water in a clean spray bottle. According to Jennifer Maker's vinyl application guide, this ratio provides enough slip for repositioning without flooding the adhesive. Too much soap can weaken the bond, create haze, or make transfer tape harder to manage.
Mist the clean glass lightly. You want a thin, even layer, not running water. This is especially helpful for larger window lettering, frosted bands, contour-cut logos, and graphics that need to line up with mullions, door handles, or neighboring panes.
How do you apply a window decal step by step?
Once the glass is clean and your solution is ready, work slowly and keep the graphic supported. Large decals are easier to ruin when they fold into themselves or touch dusty glass before they are aligned.
- Create a hinge: For larger decals, use masking tape along the top edge or one vertical side. The hinge keeps the graphic aligned while you remove the backing.
- Expose the adhesive: Peel the backing paper away from the vinyl. If you are using the wet method, lightly mist the adhesive side as well as the glass. Less solution is usually better.
- Set the position: Place the decal onto the wet glass and slide it into alignment. Check it against the door edge, window frame, sightline, and any nearby graphics before you squeegee hard.
- Squeegee from the center out: Use firm, overlapping strokes from the middle of the decal toward the edges. This moves air and water toward the perimeter where it can escape.
- Dry the edges: Wipe moisture from the surrounding glass with a lint-free cloth so water does not creep back under the vinyl.
For very large storefront graphics, multi-panel privacy bands, or long rows of hours and services, split the work into controlled sections. It is better to install in clean stages than to fight a large sheet that is already sticking in the wrong place.
What squeegee technique prevents bubbles?
The squeegee is the main tool for removing air and excess solution. Use smooth, overlapping strokes and consistent pressure across the full face of the tool. Short random strokes can trap small pockets, especially around letter counters, narrow strokes, and detailed logo shapes.
A felt-edged squeegee helps protect printed vinyl and gives a little more control on delicate graphics. A firmer plastic edge can help on transfer tape, but it should not scrape the face of a printed decal. If a bubble appears, work it toward the nearest edge rather than pressing straight down on it.
When should transfer tape come off?
Do not rush transfer tape removal. With wet application, the adhesive needs time to bite into the glass after the water is pushed out. Depending on graphic size, temperature, and humidity, that can take a few hours or overnight. Full adhesive cure can take longer.
When the decal is ready, peel the transfer tape at a 180-degree angle, pulling the tape back on itself and keeping it close to the glass. This puts less stress on the vinyl than pulling outward. Watch small lettering carefully; if any edge lifts, lay the tape back down and squeegee again.
If the transfer tape tears, continue in smaller pieces. The goal is to remove the tape without lifting strokes, dots, thin lines, or sharp corners from the glass.
What temperature is best for San Jose window graphics?
Surface temperature affects how quickly the adhesive grabs and how flexible the vinyl feels. Professional guidelines recommend applying decals when surface temperatures are between 50 and 90 degrees Fahrenheit. Cold glass can make vinyl stiff. Hot glass can make adhesive grab before you finish alignment.
In San Jose and nearby cities like Cupertino, Milpitas, Fremont, Mountain View, and Sunnyvale, direct afternoon sun can heat storefront glass quickly. If possible, install in shade, earlier in the day, or after the glass has cooled. Wind is another practical issue: even a light breeze can blow grit onto wet glass or fold transfer tape into the vinyl.
What mistakes cause bubbles, lifting, or cloudy adhesive?
Most visible problems come from rushing the prep, using too much solution, or choosing the wrong installation conditions. Watch for these common issues:
- Too much soap: Excess solution can slow drying, weaken tack, and leave a cloudy look behind the vinyl. Use a light mist.
- Dirty edges: Dust at the edge of a door or window frame can get pulled under the decal during installation. Clean beyond the visible graphic area.
- Hot glass: Direct sun can make the adhesive grab fast, reducing your ability to reposition the decal cleanly.
- Rushed transfer tape removal: Pulling tape before the vinyl bonds can lift letters and thin details right off the glass.
- Ignoring the site layout: Door handles, alarm stickers, mullions, security film, and existing graphics can all affect placement. Check the whole window before committing.
What should businesses consider before installation?
For commercial window graphics, the decal is only part of the job. Confirm placement with the property manager or landlord if your lease requires it, coordinate around security sensors or existing films, and make sure the graphic does not block required visibility for staff or customers. This is especially important for entry doors, shared office lobbies, and retail spaces with narrow sightlines.
Also think about what the decal needs to do. A clear logo decal, frosted privacy band, full-color promotion, hours panel, and code-compliant safety marker all have different material and layout needs. If the glass gets heavy sun or frequent cleaning, material choice and edge placement matter more.
How do you maintain vinyl decals long-term?
Once properly installed, vinyl window decals are low maintenance. Clean them with a soft cloth, mild soap, and water. Avoid abrasive pads, metal-edged scrapers, strong solvents, and pressure that catches the vinyl edge. For storefronts with frequent cleaning crews, make sure anyone washing the glass knows not to scrape across the graphic.
Inspect commercial graphics periodically for edge lifting, scratches, or sun damage. Small edge issues are easier to address early with controlled heat and pressure. Once dirt gets under a lifted edge, replacement is often cleaner than trying to force old adhesive back down.
Need clean window decals for a San Jose business?
Whether you need clear window decals for a subtle branded look, privacy graphics for an office, or bold window lettering for a storefront, the right application method makes a visible difference. Professional installation services can also help when the glass is oversized, exposed to direct sun, or part of a multi-panel storefront.
Start your custom decal project and get help choosing materials, sizing, placement, and installation approach for windows in San Jose and nearby service areas.