Quick answer

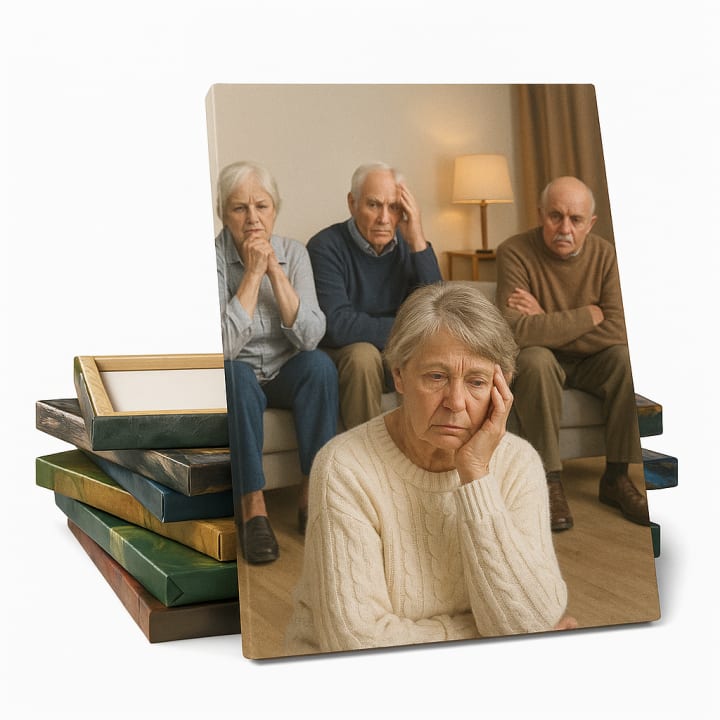
Direct answer: A gallery wrap extends the printed canvas around the sides of its internal frame. That means part of the source image, a mirrored extension, or another approved edge treatment must occupy the perimeter. Planning that edge before production protects faces, text, logos, and other important details from an awkward wrap.

Key takeaways

  • Send the highest-resolution original file rather than a screenshot or downloaded preview.
  • Keep important content away from the proposed wrap and crop area.
  • Measure the wall, nearby furniture, and spacing between pieces before choosing a single canvas or a set.

Specs & options

Specs

Source file
Original-resolution image or artwork supplied for review
Finished size
Width, height, orientation, quantity, and wall dimensions confirmed before proofing
Front crop
Visible face composed around the subject, text, and safe image area
Wrapped edge
Image continuation or another approved treatment shown in the project proof
Display
Frame depth, finishing, hardware, spacing, and installation included only as quoted

Options

  • One canvas developed around a specific wall and viewing orientation
  • A matched series using consistent dimensions and spacing
  • A multi-panel layout with each crop reviewed as part of the full composition
  • Color, crop, and edge-preparation assistance defined in the written scope
  • Display or installation details added only after the wall and access are reviewed

Need help preparing files? See Artwork Setup.

Good fit for

  • A photo or illustration intended as one focused interior wall piece
  • A coordinated office or reception series using related artwork
  • A restaurant or retail display that needs imagery rather than wayfinding copy
  • An artist or photographer reviewing a reproduction from a supplied file
  • A multi-panel concept planned from a single composition or matched group

How it works

  1. 1) Send the original artwork

    Upload the best available file and identify the subject areas, text, logos, or borders that must remain fully visible.

  2. 2) Measure the display area

    Provide the target width, height, orientation, wall dimensions, nearby objects, and desired spacing for a set.

  3. 3) Approve crop and wrap

    Review the visible front, image resolution, perimeter treatment, orientation, and relationship between panels before production.

  4. 4) Confirm the finished piece

    The quote records the canvas and frame specification, finishing, production timing, and any agreed local handoff or installation scope.

FAQ

What part of my image goes around the canvas edge?

That is decided during layout. The edge may use image area or another approved treatment, depending on the source art and project scope. The proof should make the front crop and perimeter clear before approval.

How do I know whether my photo has enough resolution?

Send the original file and the intended finished dimensions. Image quality should be evaluated at that output size; a file that looks sharp on a phone may not support a larger print.

Can text or a logo be included?

Yes, but keep critical content on the front face with enough clearance from the crop and wrapped sides. Vector logo files and outlined type are helpful when the design includes branding.

Can one image be divided across several canvases?

It can be planned as a multi-panel composition. Wall dimensions, panel order, gaps, subject placement, and the image lost to each wrap must all be reviewed together.

Is hanging hardware included?

Do not assume it is. Hardware and installation depend on the approved canvas specification and wall conditions, so the quote should state exactly what is included.