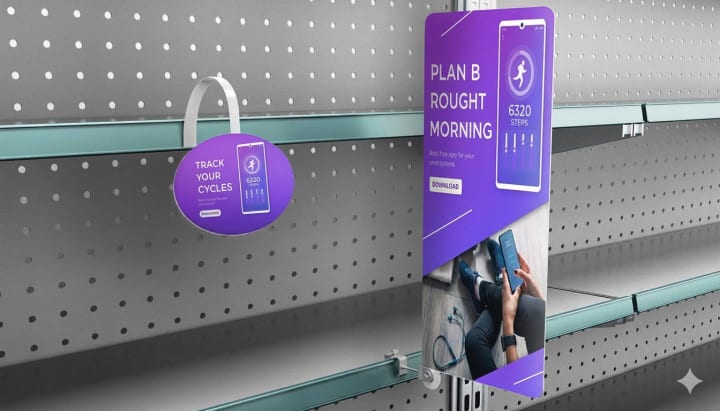
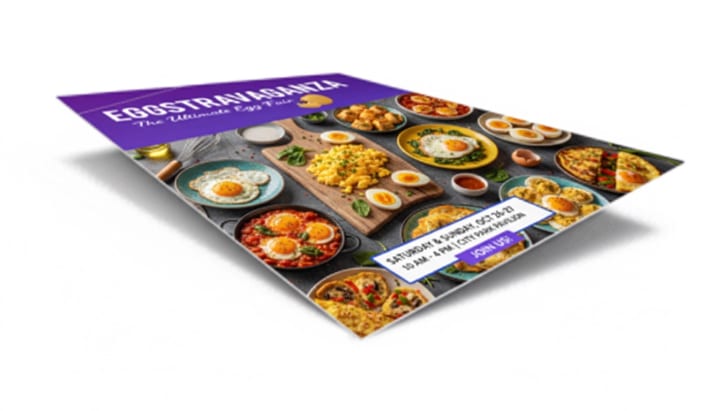
Quick answer

Direct answer: Styrene printing uses a polystyrene sheet as the graphic surface. Depending on the selected gauge and support, it may behave as a flexible insert or a flatter display panel. The best starting information is the fixture opening, finished size, viewing side, edge capture, and expected handling.

Key takeaways

  • Measure the holder in several places; nominal frame size may not equal the required insert size.
  • A little flexibility can help some fixtures, while an unsupported span may call for a different gauge or material.
  • Mounting adhesives and cleaning practices must suit both the printed sheet and the receiving surface.

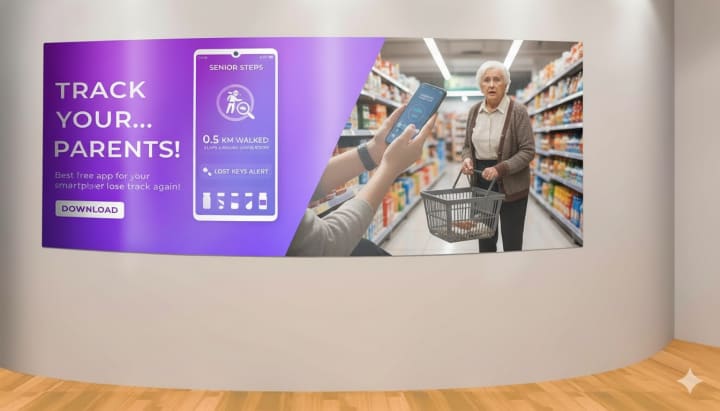
Specs & options

Specs

Sheet material
Polystyrene type, color, gauge, and finish identified in the approved quote
Fit dimensions
Cut size based on measured opening, edge capture, clearance, and insertion method
Graphic face
Viewing direction and one-face or two-face requirements established before proofing
Flex and support
Reviewed from sheet gauge, panel size, fixture, radius, and unsupported span
Finishing
Corner, hole, or custom-cut requests subject to material and artwork review
Placement
Interior use or other conditions documented so the proposed material can be evaluated

Options

  • Build the print as a replaceable insert for a customer-supplied frame or sign holder.
  • Prepare paired faces when a hanging fixture presents artwork in two directions.
  • Select a sheet response appropriate to a gentle curve only after the required radius is known.
  • Add holes or a custom outline where the support method and production review allow it.
  • Switch to a rigid panel when the display has a broad unsupported area or must remain especially flat.

Need help preparing files? See Artwork Setup.

Good fit for

  • Changeable graphic inserts for frames, stands, menu holders, and retail fixtures
  • Shelf, aisle, and counter messaging built to a measured display opening
  • Interior promotional panels where a thick exposed edge is not wanted
  • Curved or formed display concepts reviewed against the exact sheet and radius

How it works

  1. 1) Measure the fixture

    Record the opening width and height, depth, edge capture, insertion path, curve if any, and several photos with a ruler in view.

  2. 2) Match sheet to behavior

    We evaluate size, gauge, flex, viewing direction, support, contact, and the environmental conditions around the display.

  3. 3) Proof at final trim

    Approve the crop, safe margins, orientation, cut size, and any holes or corners before the piece enters production.

  4. 4) Verify fit and handoff

    The accepted scope records timing, quantity, sheet specification, and any agreed local delivery or placement help.

FAQ

Is styrene rigid or flexible?

Both descriptions can be misleading without a gauge and panel size. A thinner or well-supported sheet may flex, while a different specification can feel flatter. Tell us what the fixture requires rather than choosing from a label alone.

How much clearance should I allow inside a frame?

That depends on the holder construction, insertion direction, temperature, sheet gauge, and manufacturing tolerance. Measure the actual fixture and, for critical fits, discuss a sample or test piece in the scope.

Can a styrene graphic follow a curved display?

Potentially, if the selected sheet, print construction, dimensions, and bend radius are compatible. Provide the radius or a template and do not assume the material will conform to a compound shape.

Is styrene intended for outdoor signage?

The page does not establish an outdoor rating. Sun, weather, temperature, mounting, wind, and expected duration must be considered against the exact product documentation; another substrate may be more appropriate.

What should the artwork include for an insert?

Set the document to the verified cut size, add bleed where color reaches the trim, and keep important text inside the visible opening rather than merely inside the sheet edge.