
How to Create Custom Stencils for Sign Painting
Build cleaner, more repeatable stencil-painted signs for storefronts, job sites, events, and branded spaces.
Key takeaways
- Mylar is the best reusable stencil material for most sign painting projects, with 7.5 to 14 mil film covering everything from curved surfaces to heavier shop use
- A thin clear coat or base-color seal along the stencil edge helps prevent bleeding, especially on wood, concrete, and lightly textured walls
- Use a dry brush, roller, or pouncing motion in light coats instead of pushing wet paint across the cut edge
- Cutting machines and vinyl plotters make repeat branding easier, while hand-cutting still works well for one-off displays and artistic lettering
- Surface prep matters in San Jose storefront conditions, where dust, sun exposure, old paint, and window film can all affect adhesion
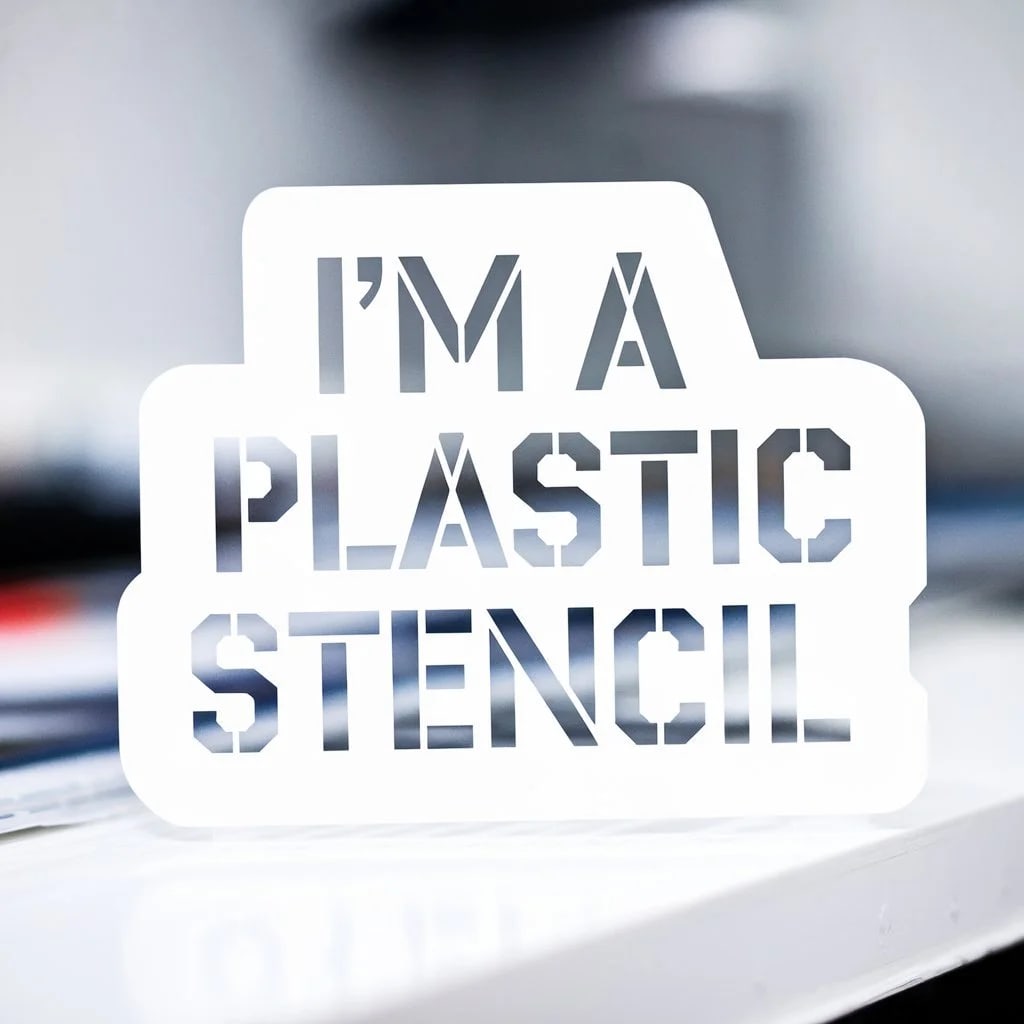
Custom stencils are one of the most practical tools in sign painting because they let you repeat lettering, logos, arrows, and simple graphics without starting from scratch every time. For San Jose businesses, that can mean cleaner window promotions, branded directional signs, temporary event panels, painted wall graphics, or job-site markings that still look intentional.
The goal is not just to cut a shape and add paint. A good stencil has to survive handling, sit tight on the surface, hold small details together, and release cleanly after the paint goes down. This guide covers the materials, design choices, cutting methods, and paint techniques that make custom stencils work for real sign projects around San Jose and the South Bay.
Why Use Custom Stencils for Sign Painting?
Stencils solve a common problem in sign work: how to make painted graphics consistent without losing the hand-made quality that makes them feel custom. They help repeat the same logo across multiple panels, keep lettering aligned, and make basic shapes easier to reproduce on wood, metal, acrylic, glass, or prepared walls. For businesses ordering custom aluminum signs or painted wayfinding, that repeatability helps the whole property feel coordinated.
They are also useful when a sign has to be installed or refreshed in a practical setting. A cafe near downtown San Jose may need a sidewalk panel updated for a seasonal menu. A contractor in Santa Clara may need recurring warning or access markings. A retailer in Sunnyvale may want consistent sale lettering across window displays. Stencils keep those jobs efficient while still leaving room for custom color, texture, and finish.
What Materials Work Best for Sign Painting Stencils?
The material you choose affects how cleanly the stencil cuts, how well it lies against the surface, and whether it can be reused. These are the most common options for sign painting:
- Mylar (polyester film): The standard choice for reusable stencils. According to Stencil Ease, Mylar is "very tough, does not stretch, and can replicate images accurately and repeatedly." For sign painting, 7.5 mil to 14 mil is a useful range. Thinner film flexes around slight curves, while thicker film is better for repeated use and spray work.
- Vinyl (adhesive-backed): Best for single-use applications where the stencil must stay locked in place, such as glass lettering, smooth painted panels, or clean-edged promotional graphics.
- Acetate: A lighter-duty material for short runs, mockups, or simple one-time projects. It is affordable, but it does not hold up like Mylar.
- Heavy-duty LDPE: A stronger option for pavement markings, warehouse signs, parking areas, and outdoor work where the stencil may be stepped on, sprayed, or cleaned repeatedly.
How Do You Design Stencils for Sign Painting?
Stencil design is different from regular print design. A layout that looks good on screen may fall apart once it is cut. Start with the visual goal, then simplify it enough that the stencil remains strong and paintable.
Keep It Structurally Sound
Every loose interior shape needs a way to stay attached to the stencil sheet. Letters like O, A, D, P, and B need bridges to hold their counters in place. Without those connections, the centers drop out and the painted letter becomes a filled shape.
Choose Appropriate Fonts
Bold, open letterforms usually stencil better than delicate scripts or thin serif fonts. Hairlines can tear during cutting, and tiny details often fill with paint. If a brand mark uses fine details, simplify the artwork or separate it into larger shapes that can be painted in layers.
Balance Negative and Positive Space
The cut-away areas create the painted graphic. Too much open area weakens the stencil and makes it easier for the sheet to lift. Too little open area can make the sign hard to read from a car, sidewalk, or storefront entrance. For commercial corridors like Stevens Creek Boulevard, El Camino Real, or North First Street, distance and viewing speed matter as much as close-up detail.
What Are the Best Digital Tools for Stencil Design?
Digital design makes stencil work more accurate, especially when a business needs the same lettering or logo repeated across several surfaces. Common options include:
- Adobe Illustrator: Industry-standard vector software with precise control over paths, spacing, and output size
- CorelDRAW: A long-running sign-shop option with strong layout and production tools
- Inkscape: A free vector option that can work well for simple stencil layouts and cleanup
Work in vector format whenever possible so the design can scale from a small decal-sized mark to a larger wall or panel graphic without losing edge quality. If you trace a photo or raster logo, clean up the result manually. Auto-trace tools often create extra points, tiny islands, and uneven curves that make cutting and paint application harder.
How Do Cutting Machines Improve Stencil Quality?
Cricut, Silhouette, and professional vinyl cutters can all produce cleaner, more consistent stencils than most hand-cutting. For repeated business graphics, a machine-cut stencil also makes it easier to replace or reproduce the same layout later.
Setting Up Your Cut
- Load the stencil material securely so it cannot shift during the cut
- Adjust blade depth and pressure for the material thickness
- Test on scrap material first to dial in settings
- Slow the cutting speed for small lettering, tight curves, or detailed logos
Incomplete cuts usually mean the blade pressure or depth is too low. Tearing usually means the pressure is too high, the blade is dull, or the speed is too fast. Most machines have presets, but shop conditions and material batches vary, so a small test cut is still worth the time.
How Do You Cut Stencils by Hand?
Hand-cutting still has a place, especially for one-off art pieces, loose sign-painting effects, quick repairs, or field adjustments. You will need:
- A sharp craft knife with replaceable blades
- Self-healing cutting mat
- Metal ruler for straight lines
- Transfer paper to trace your design onto stencil material
Work slowly and keep the blade upright so the cut edge stays square. For curves, rotate the material instead of twisting your wrist into an awkward angle. Change blades often. A dull blade creates ragged edges, and ragged edges are where paint bleed starts.
How Should You Prepare Surfaces for Stencil Painting?
Surface preparation determines whether the stencil produces crisp lettering or fuzzy edges. Around San Jose and nearby cities like Palo Alto, Santa Clara, Mountain View, Cupertino, Milpitas, and Fremont, sign surfaces can pick up dust, pollen, road film, sprinkler residue, and sun-baked oxidation. Prep the surface before you position the stencil.
- Clean thoroughly: Remove dust, grease, adhesive residue, and loose paint. For acrylic signs and similar smooth surfaces, use isopropyl alcohol.
- Prime if needed: Bare wood, raw metal, raw concrete, and porous surfaces usually need primer for reliable paint adhesion.
- Confirm the surface is dry: Moisture trapped under the stencil can soften edges and affect adhesion.
- Check the texture: Smooth panels and glass are easier. Stucco, rough wood, brick, and concrete require more paint control and often a thicker stencil.
What's the Secret to Preventing Paint Bleed?
Paint bleed is the main reason stencil projects look less professional than expected. According to Making Manzanita, sealing the stencil edges before painting is one of the most reliable ways to keep paint from creeping underneath.
The Seal-First Technique
- Position and secure your stencil
- Apply a thin layer of clear medium, Mod Podge, or the base paint color over the stencil edges
- Let the sealing coat dry fully
- Apply the finish color with light dabs, pounces, or controlled roller passes
- Remove the stencil while the paint is still slightly tacky for the cleanest release
The sealing step fills tiny gaps between the stencil and the surface. It is especially helpful on painted wood, lightly textured walls, and older sign panels where the surface is not perfectly flat.
How Do You Apply Paint Over Stencils?
Paint control matters as much as stencil quality. Use less paint than you think you need, then build coverage in light passes.
- Use minimal paint: Offload the brush or roller onto a paper towel before touching the stencil. A nearly dry tool reduces bleed.
- Dab instead of dragging: Stippling, pouncing, or very light rolling keeps paint from being pushed sideways under the edge.
- Build thin layers: Several light coats are cleaner than one heavy coat.
- Work carefully around edges: Keep pressure light near bridges, corners, and small type so the stencil does not lift.
Choosing Paint Types
Acrylic paint works well for many sign applications because it dries quickly, cleans up easily, and can bond to properly prepared surfaces. Spray paint covers large stencils efficiently but requires wider masking and careful overspray control. For outdoor signs in the South Bay, use exterior-grade coatings that can handle sun exposure, temperature swings, and occasional rain.
What Advanced Techniques Elevate Stencil Work?
Once the basics are reliable, stencils can do more than simple one-color lettering. These techniques add depth while keeping the process repeatable.
Multi-Layer Stencils
Multi-color designs usually need a separate stencil for each color. Registration marks help each layer align correctly. Work from background colors toward foreground details, and let each color dry before applying the next stencil.
Adding Texture and Dimension
Texture mediums, metallic paints, drop shadows, and dry-brushed highlights can make a stenciled sign feel more finished. Use these effects carefully on commercial signs. The graphic still needs to read quickly from the sidewalk, parking lot, or storefront window.
Faux Finishes
Stencils can also help create woodgrain, tile, stone, or aged paint effects. These finishes are useful for restaurants, studios, salons, pop-ups, and event displays that want atmosphere without building a fully custom dimensional sign.
How Do You Care for and Store Stencils?
Reusable stencils only stay useful if they are cleaned and stored correctly:
- Clean immediately after use: Remove paint before it dries hard. Water-based paints usually clean with soap and water; oil-based coatings require the proper solvent.
- Inspect bridges and corners: Bent bridges, torn points, and paint buildup can affect the next application.
- Store flat or loosely rolled: Tight rolling and folding create creases that keep the stencil from lying flat.
- Label each stencil: Note the design, size, orientation, paint type, and any cutter settings that may be needed later.
What Surfaces Work Best for Stencil Painting?
Different sign surfaces need different prep and paint choices:
- Wood: Sand smooth and prime before painting. Wood grain can still create slight edge softness, so use light paint passes.
- Metal: Clean thoroughly and use the correct primer. Aluminum and steel can accept stenciled paint well when prepared correctly.
- Glass: Use glass-friendly paint and adhesive-backed stencil material. Loose stencil sheets can slide on storefront windows.
- Fabric: Use fabric medium or textile paint, then follow the coating instructions for curing or heat-setting.
- Concrete and pavement: Use heavy-duty stencil material, high-contrast paint, and dry conditions. This is common for parking, access, safety, and temporary directional markings.
- Textured walls: Expect more edge variation. A thicker stencil and pouncing motion usually work better than brushing.
Creative Applications for Stenciled Signs
Stencil-painted signs can support many business and property needs around San Jose and nearby service areas:
- Storefront signage: Consistent branding across window displays, sandwich boards, counters, and painted interior graphics
- Event signage: Directional panels, vendor booth graphics, pop-up retail displays, and temporary promotional backdrops
- Property wayfinding: Arrows, loading zones, suite numbers, parking markings, and maintenance access labels
- Restaurant and retail details: Menu boards, restroom signs, pickup areas, floor graphics, and branded wall accents
- Construction and facilities: Safety markings, equipment labels, barricade graphics, and repeatable job-site messaging
Ready for Professional Results?
Custom stencils sit between freehand sign painting and fully fabricated signage. With the right material, clean artwork, careful surface prep, and patient paint application, they can produce crisp, useful graphics for storefronts, events, interior branding, and property signage.
For stencil work that needs to match a brand system, survive outdoor exposure, or coordinate with a larger sign package, work with our professional sign team. We help San Jose and South Bay businesses plan the right mix of painted graphics, panels, decals, and professional installation so the finished signage fits the site instead of feeling improvised.