
Router Bit Selection Guide: CNC Tools for San Jose Dimensional Letters
Router bit choice affects edge quality, paint prep, mounting accuracy, and how finished your dimensional letters look right off the CNC. Here is how to pick the right bit for the job without turning cleanup into the real project.
Key takeaways
- Start with the finished sign requirement: crisp edges, clean paint lines, smooth contours, or fast material removal.
- End mills handle most letter cutting; ball nose bits and V-bits are better for contours, chamfers, and detail.
- Match the bit to the substrate, test-cut before a full run, and account for mounting holes or standoffs early.
- Sharp tools, solid workholding, and dust control matter as much as feed rates for repeatable sign-shop quality.
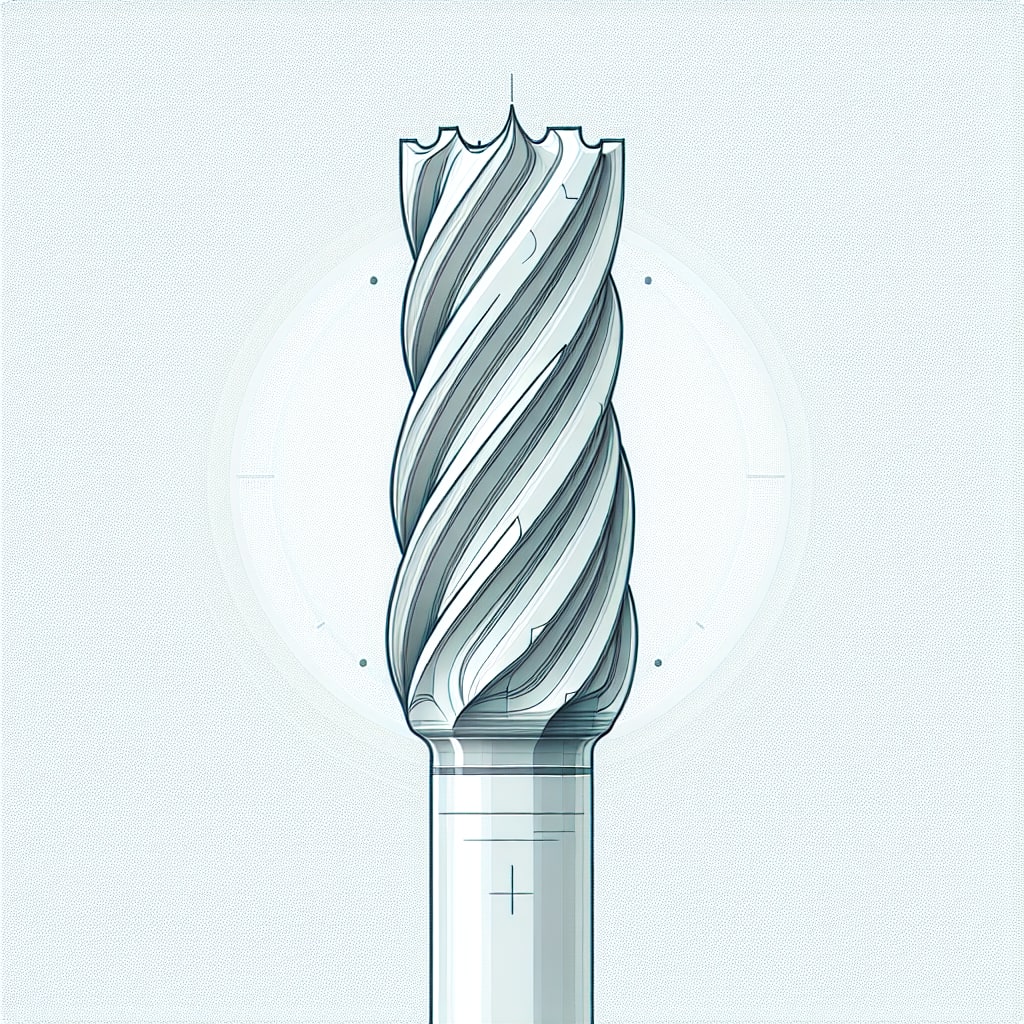
If you are routing dimensional letters on a CNC, router bit selection is the difference between a part that is nearly ready for paint and a part that needs a long cleanup session. The right bit gives you clean edges, reliable inside corners, and predictable results when the job shifts from simple block letters to tighter logos, layered faces, or mixed materials.
For San Jose storefronts, office suites, schools, contractors, restaurants, and tech campuses, those details matter. Letters often need to look sharp up close, line up cleanly on a wall or raceway, and hold their finish through Bay Area sun, dust, and damp mornings. This guide covers the most useful bit types for sign letters, how to think about common substrates like wood and HDU, and the shop habits that keep cuts consistent. If you are working with aluminum signs, the same basic rule applies: match the tool to the material and the finish standard.
Why does router bit choice matter for dimensional letters?
Dimensional letters expose small mistakes. Fuzzy edges, chipped corners, tool marks, and uneven surfaces all become more obvious after primer, paint, or a face finish goes on. A smart bit choice reduces those issues at the source, so sanding and filling do not become the main labor on the job.
Bit selection also affects the whole production plan. It can change how many passes you need, how easily chips or dust clear from the cut, whether small counters hold their shape, and how accurately mounting patterns stay aligned. That matters for exterior signs in San Jose, Palo Alto, Santa Clara, Sunnyvale, Mountain View, Cupertino, Milpitas, and Fremont, where install conditions can range from smooth interior walls to stucco, masonry, glass-adjacent storefronts, and older fascia surfaces.
Which router bit types are most useful for sign letters?
Most dimensional-letter jobs can be handled with a focused core kit. The goal is not to own every bit; it is to know which tool gives you the cleanest path from raw sheet to finished sign component.
End mills (the workhorse)
End mills do the bulk of 2D sign cutting: outside profiles, inside cutouts, pocketing, and flat-bottom clearing. They are the default choice when you want clean vertical walls and straightforward geometry.
- Cutting letter outlines and counter shapes, such as the inside of an O or A.
- Clearing pockets for layered letter faces, backers, or inlays.
- Holding clean edges on simple letterforms and logo shapes.
Ball nose bits (for smooth contours)
Ball nose bits are useful when the letter or logo needs a rounded edge, sculpted profile, or smooth 3D surface. They are slower than a roughing pass with an end mill, but they can produce a softer, more finished look when the toolpath is set up correctly.
- Rounding edges and softening corners before paint.
- Smoothing 3D reliefs, carved logo details, and contoured faces.
- Reducing visible tool marks on curved surfaces when step-over is dialed in.
V-bits (for sharp details and engraving)
V-bits are best for detail work: engraved lines, crisp grooves, chamfers, and decorative accents. On dimensional letters, they are usually used for inset details or edge treatment rather than full-depth profile cutting. According to CNC Cookbook's guide to router bits, V-bits excel at engraving and chamfering operations where precise angles matter.
Compression bits (when you need clean edges on both faces)
Compression bits help when both faces of a sheet or panel need to stay clean. They are especially useful in layered sign builds, where the front face, back face, and exposed edges may all be visible after assembly.
How do you choose bits for wood vs. HDU?
Material matters. A bit that cuts beautifully in one substrate can leave a rough edge, packed dust, or chatter in another. Start with the material, then work backward from the edge quality and finish schedule the sign requires.
HDU (high-density urethane)
HDU is common for dimensional sign work because it is stable, paintable, and easier to machine than many natural materials. It still deserves careful tool selection. Sharp bits, steady workholding, and good dust collection help preserve crisp edges and keep fine detail from looking soft.
- Use sharp, clean bits to avoid tearing, fuzzing, and chatter.
- Test toolpath strategy and step-over before committing to 3D surface work.
- Plan dust control carefully because HDU dust is fine and travels through the shop.
Wood
Wood brings grain direction, knots, moisture movement, and board-to-board variability. For signs headed to storefronts, lobbies, or exterior settings around the South Bay, the goal is to reduce tear-out and keep the edge consistent so primer, paint, stain, or clear coat does not telegraph avoidable defects. Wood Magazine's router bit guide covers grain-direction strategies in detail.
- Choose bits designed for wood cutting and replace or sharpen them before burning starts.
- Account for grain direction when corners, serifs, or curves start tearing out.
- Use reliable dust extraction so the cut stays visible and chips do not recut.
What specifications should you pay attention to?
Once you have picked a bit type, a few specifications determine how the cut behaves. The best spec is the one that fits the letter size, detail level, substrate thickness, and install plan.
- Cutting diameter: smaller diameters capture detail; larger diameters clear material faster and can leave more rigid edges.
- Shank size: match the collet and use the most stable setup available for the machine.
- Flute length: use enough length for the cut depth, but avoid extra reach that invites chatter.
- Number of flutes: balance chip clearance, dust evacuation, and finish based on the substrate.
- Coating/material: choose based on what you cut most often and whether the job requires long run time or fine finish quality.
Also think about mounting before you cut. If letters need studs, spacers, standoffs, or a drill pattern, build those requirements into the file and tool sequence early. A clean face does not help much if the mounting prep is inconsistent.
When in doubt, run a small test cut and write down what worked. A short recipe for each material saves time on future jobs and makes repeat orders easier to reproduce.
How do you keep router bits performing (maintenance)?
Many mystery quality problems come from dull tools, dirty tools, worn collets, or inconsistent workholding. A simple routine prevents a lot of rework, especially when a shop is moving between acrylic, HDU, wood, PVC, and aluminum composite projects in the same week.
- Clean bits regularly and remove built-up resin, adhesive, and dust.
- Inspect cutting edges for wear and retire bits before they start burning, tearing, or pushing material.
- Store bits so cutting edges do not knock together in drawers or tool trays.
- Check collets and spoilboards, because runout and uneven support can make a good bit cut poorly.
Any San Jose or South Bay considerations?
Signs installed around San Jose see a mix of conditions: hot sun on south-facing storefronts, dust near busy corridors, cooler damp mornings, and different wall surfaces from one property to the next. A dimensional-letter job for a shop near a pedestrian retail strip may need a different finish and mounting strategy than letters for a business park in Santa Clara or a lobby sign in Mountain View.
Sites across San Jose and the listed Silicon Valley service areas bring practical coordination questions: landlord approvals, existing fascia conditions, access for installation, and whether the sign needs to line up with other tenant signage. Our sign installation services team can help think through those variables so the fabrication plan supports the install plan.
For exterior work, plan early. Local review processes and property rules can affect size, placement, lighting, and attachment methods. It is better to address those constraints before routing letters than to redesign parts after production starts.
Safety checklist before you cut
- Verify the bit is seated correctly and tightened according to the manufacturer’s guidance.
- Wear eye protection and use dust extraction suited to the material being cut.
- Confirm workholding, spoilboard condition, and clearance before starting the job.
- Run a toolpath preview and test any unfamiliar material, depth, or detail before the full cut.
Bottom line
A small set of well-chosen bits, a habit of test-cutting, and early attention to mounting will get most dimensional-letter projects closer to a clean, repeatable finish. If you want help planning a dimensional-letter build for San Jose or the surrounding South Bay, including materials, finishes, mounting, and installation realities, start a project and we will help map the practical path to a finished sign.