
Stencils for Cleaner, Longer-Lasting Sign Painting
A good stencil can make painted lettering, wall graphics, and directional markings look sharper and more consistent. Here is how to choose the right stencil, prep the surface, control paint bleed, and decide when a commercial sign shop should handle the work.
Key takeaways
- Mylar stencils are a strong all-around choice for shops, offices, schools, and property teams that need repeatable painted graphics.
- Metal stencils hold up best for heavy-use markings like parking lots, loading zones, equipment labels, and multi-site facility work.
- Surface prep matters most: clean, dry, smooth surfaces help prevent paint bleed and keep edges crisp.
- Use thin coats, work from the stencil edge inward, and remove the stencil slowly while paint is still slightly tacky.
- A San Jose-area sign shop can help with custom stencil cutting, substrate matching, and installation when the placement has to look exact.
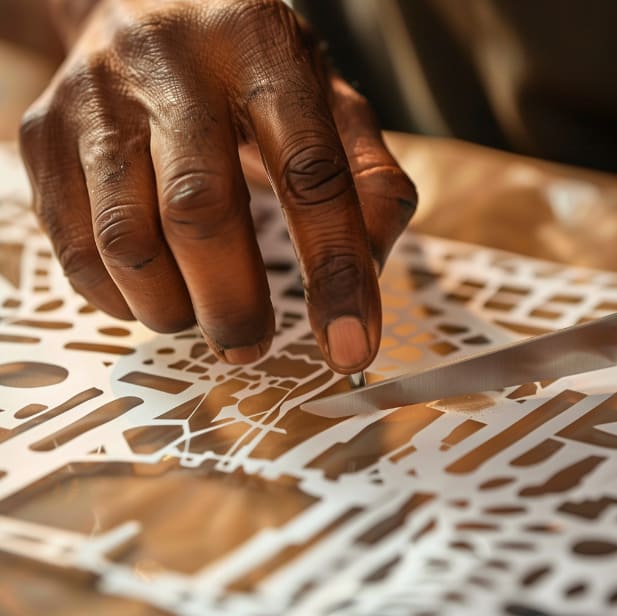
Freehand sign painting can look great in the right hands, but it is not forgiving. One shaky letter, one uneven stroke, or one rushed layout can make a storefront, wall graphic, or facility marking look unfinished. Stencils solve that problem by giving you a repeatable guide for clean edges and consistent spacing. Whether you are updating a San Jose storefront, marking a back-of-house area, or adding directional graphics for a Bay Area office, the right stencil makes the work faster and more controlled.
What type of stencil should you use for sign painting?
The best stencil material depends on the surface, the level of detail, and whether the stencil needs to survive one afternoon or dozens of uses. For commercial signs around San Jose, Santa Clara, Sunnyvale, and nearby cities, the project often falls into one of these categories:
- Mylar (7.5-14 mil): The most common stencil material for sign work. Mylar stencils are durable, flexible, and washable, which makes them useful for repeat graphics, painted logos, address numbers, shop-floor labels, and property markings. Thicker mylar stands up to repeated use, while thinner mylar can conform better to slightly curved or uneven surfaces.
- Metal stencils: A good fit for high-volume or rougher work. Metal stencils are often used for parking stall numbers, curb markings, loading areas, warehouse labels, and other applications where the same mark may be painted again and again.
- Adhesive-backed vinyl: Best for one-time applications where precision matters most. The adhesive helps seal the edge, which reduces bleed on smooth painted walls, panels, glass-adjacent areas, and sign faces. Once removed, these stencils are not meant to be reused.
- Paper or oilboard: A budget-friendly option for short-term or rough layout work. Paper stencils can be useful for testing scale and placement, but they break down quickly with wet paint and are not ideal for exterior business signage.
For many South Bay projects, mylar offers the best balance of durability, flexibility, and value. For polished storefront work, specialty surfaces, or custom aluminum signs, adhesive vinyl or shop-cut paint masks may produce a cleaner result.
How do you prepare a surface for stencil painting?
Surface prep is where most stencil jobs succeed or fail. San Jose-area signs deal with sun exposure, dust, irrigation overspray, changing temperatures, and everyday cleaning, so paint needs a stable surface before the stencil ever goes down.
- Clean thoroughly: Remove dust, grease, chalking paint, tape residue, and debris. Contaminants interfere with adhesion and can also keep the stencil from sealing along the edge.
- Smooth the surface: Sand rough spots, scrape loose paint, and fill obvious holes or chips. A stencil cannot sit flat across heavy texture, cracks, or failing coatings.
- Confirm dryness: Wait until the surface is completely dry. Moisture trapped under a stencil can blur the edge, weaken adhesion, and create premature paint failure.
- Check the substrate: Painted drywall, concrete, metal panels, acrylic, wood, and masonry all behave differently. Match the primer and paint system to the actual surface instead of assuming one coating works everywhere.
How do you position a stencil correctly?
Placement matters because a crisp stencil in the wrong spot is still a bad sign. Before you paint, think about viewing distance, traffic flow, door swings, sightlines from the sidewalk, and whether equipment, displays, or parked vehicles will block the finished mark.
- Measure and mark: Use a level, tape measure, or laser guide for alignment. Light pencil marks or painter's tape can help you set reference points without leaving obvious marks behind.
- Secure the stencil: For non-adhesive stencils, use painter's tape, magnets on metal surfaces, or repositionable spray adhesive where appropriate. Even a slight shift can create a shadowed or doubled edge.
- Test the fit: Step back before painting. Check centering, spacing, height, and whether the stencil makes sense from the distance customers or drivers will actually see it.
- Plan multi-part layouts: Larger signs may require registration marks so each stencil section lines up. This is especially important for multi-color logos, repeat patterns, or long directional messages.
What is the best technique for painting through a stencil?
The painting technique matters as much as the stencil itself. According to Stencil Ease's material guide, matching your stencil material and thickness to the application method helps produce cleaner results.
- Choose the right paint: Acrylic paint works well for many indoor signs because it dries quickly and is easy to clean up. Exterior-rated enamel or specialty coatings are better for outdoor markings, metal, concrete, and surfaces exposed to UV and weather.
- Apply thin layers: Several light coats beat one heavy coat. Thick paint pools at stencil edges and is more likely to bleed underneath. Let each layer set before adding the next.
- Work from edges inward: Start brush, dauber, or roller movement at the edge and move toward the center of the cutout. This pushes paint away from the stencil edge rather than under it.
- Spray straight down: If using spray paint or a sprayer, keep the nozzle perpendicular to the surface. Angled spraying forces paint under the stencil and softens the edge.
- Control the environment: Wind, direct afternoon sun, damp mornings, and dusty job sites can all affect paint behavior. For exterior work in places like Fremont, Milpitas, or Mountain View, timing and site conditions can matter as much as technique.
When should you remove the stencil?
Stencil removal is a small step that can ruin an otherwise careful job. The goal is to remove the stencil while the paint is set enough to hold its shape but not so dry that it tears or bridges across the edge.
- Too early: Wet paint can run, drip, or smear into areas that should stay clean.
- Too late: Fully dried paint can form a skin that tears when the stencil lifts, leaving ragged edges.
- Just right: When the paint is tacky but not stringy or wet, lift the stencil slowly at a low angle and watch for any areas that need to be held down as you peel.
How do you finish and protect stenciled signs?
Once the stencil is off, give the sign a careful inspection before calling it finished. The right protection depends on whether the mark is indoors, outdoors, temporary, or exposed to cleaning, traffic, and sun.
- Touch up carefully: Use a fine brush to correct small bleeds, nicks, or gaps. Stop before the repair becomes more noticeable than the original issue.
- Apply protection when needed: Exterior signs, floor markings, and high-touch areas may need a compatible clear coat or protective finish. UV resistance, abrasion resistance, and cleanability all matter for commercial use.
- Clean reusable stencils: If you used mylar or metal, clean it soon after painting. Dried paint buildup changes the edge and makes the next project less precise.
- Document repeat layouts: For property managers, schools, and multi-location businesses, note measurements, paint colors, stencil size, and placement so future repainting is easier.
When should you hire a professional sign shop?
Stencils are useful for DIY and maintenance work, but some projects need a sign shop because the layout, surface, or visibility level leaves little room for error. Consider professional help when your project involves:
- Large-scale wall, window, or pavement graphics where alignment has to stay consistent across several feet
- Multi-color logos or graphics that require accurate registration between stencil layers
- Specialty substrates like acrylic, metal, concrete, wood, masonry, or textured walls
- High-visibility storefronts, lobbies, restaurants, clinics, schools, gyms, and offices where rough edges will be noticed
- Landlord, property-management, or permitting coordination where the sign package needs to fit broader site requirements
A professional sign shop can cut paint masks to the correct scale, recommend the right substrate and coating, and handle installation details that are easy to underestimate. That can be especially helpful for businesses in San Jose, Palo Alto, Cupertino, Santa Clara, and the surrounding South Bay where storefront conditions, landlord standards, and customer visibility vary from site to site. We also offer complete installation services throughout the Bay Area.
Ready to start your sign project?
Stencils can turn a difficult painting job into a controlled, repeatable process. With the right material, careful prep, and light paint application, they can produce clean lettering, durable markings, and branded graphics for commercial spaces.
For projects that need custom stencil cutting, specialty materials, or professional execution, contact San Jo Sign Co. We help San Jose and Bay Area businesses plan, produce, and install practical signage for storefronts, offices, facilities, and customer-facing spaces.